How To Repot Hydrangeas In Pots Like A Pro
How to Repot Hydrangeas in Pots Like a Pro
Hydrangeas are beautiful flowering shrubs that can be grown in pots. However, over time, they may outgrow their pot and need to be repotted. Repotting hydrangeas is a relatively easy process, but there are a few things you need to do to ensure that your plant thrives.
In this blog post, we will walk you through the steps on how to repot hydrangeas in pots like a pro. We will also provide some tips on how to choose the right pot, soil, and fertilizer for your hydrangeas.
Here are the steps on how to repot hydrangeas in pots:
- Choose the right pot. The pot you choose should be about two inches wider and deeper than the current pot your hydrangea is in. The pot should also have drainage holes to prevent the roots from sitting in water.
- Prepare the soil. Hydrangeas prefer a soil that is rich in organic matter and has good drainage. You can use a commercial potting mix or make your own by mixing equal parts potting soil, compost, and perlite.
- Water your hydrangea thoroughly before repotting. This will help to loosen the roots and make them easier to transplant.
- Remove your hydrangea from its current pot. Gently loosen the roots with your fingers and then lift the plant out of the pot.
- Place your hydrangea in the new pot. Make sure that the plant is at the same depth as it was in the old pot.
- Backfill the pot with soil. Be sure to pack the soil down firmly around the roots.
- Water your hydrangea thoroughly.
- Fertilize your hydrangea. Hydrangeas need regular fertilization to produce blooms. You can use a balanced fertilizer, such as a 10-10-10 fertilizer, once a month during the growing season.
Here are some tips for repotting hydrangeas in pots:
- Repotting hydrangeas is best done in the spring or fall, when the plant is not actively growing.
- If your hydrangea is large, you may need to repot it in stages. First, repot it into a pot that is one size larger. Then, in a year or two, repot it into a pot that is two sizes larger.
- Be careful not to overwater your hydrangea after repotting. This can lead to root rot.
- Fertilize your hydrangea regularly to encourage blooming.
- Place your hydrangea in a location that receives full sun or partial shade.
With proper care, your repotted hydrangea will thrive for many years to come.
Are you looking to repot your hydrangeas in pots? If so, you've come to the right place! Repotting hydrangeas is a relatively easy process, but it's important to do it correctly in order to ensure the health of your plant.
Here are the basic steps involved in repotting hydrangeas in pots:
- Choose a pot that is at least 2 inches larger in diameter than the current pot. The pot should also have drainage holes to prevent the roots from rotting.
- Fill the bottom of the pot with a layer of gravel or pebbles to help with drainage.
- Add a layer of potting soil that is specifically designed for hydrangeas.
- Gently remove the hydrangea from its current pot and place it in the new pot.
- Backfill the pot with potting soil, being careful not to bury the crown of the plant.
- Water the hydrangea thoroughly.
For more detailed information on repotting hydrangeas in pots, I recommend visiting . This website has a wealth of information on all aspects of hydrangea care, including repotting. The articles are well-written and easy to understand, and they also include helpful images and diagrams.
FAQ of repotting hydrangeas in pots
Here are the 5 most frequently asked questions about repotting hydrangeas in pots, along with valuable insights and solutions:
- When should I repot my hydrangea?
Hydrangeas should be repotted every 2-3 years, or when the roots have filled the pot. The best time to repot is in the spring, just before the plant starts to grow new leaves.
- What size pot do I need for my hydrangea?
The size of the pot you need for your hydrangea will depend on the size of the plant. A good rule of thumb is to choose a pot that is one size larger than the current pot. If you are repotting a small hydrangea, you can use a pot that is only slightly larger. However, if you are repotting a large hydrangea, you may need to choose a pot that is several sizes larger.
- What type of soil should I use for my hydrangea?
Hydrangeas prefer a soil that is rich in organic matter and has good drainage. A good potting mix for hydrangeas will contain peat moss, perlite, and compost. You can also add some sand or gravel to the soil to improve drainage.
- How do I repot my hydrangea?
To repot your hydrangea, start by loosening the roots of the plant. You can do this by gently tapping the bottom of the pot or running a knife around the edge of the pot. Once the roots are loose, carefully remove the plant from the pot.
Next, place the plant in the new pot and fill in around the roots with new soil. Be sure to firm the soil around the roots to remove any air pockets. Water the plant thoroughly and place it in a location that receives full to partial sun.
- How do I care for my repotted hydrangea?
After repotting, your hydrangea will need to be watered regularly. Water the plant deeply so that the water reaches the roots. You may also need to fertilize your hydrangea every few weeks. Use a balanced fertilizer that is specifically formulated for hydrangeas.
With proper care, your repotted hydrangea should thrive for many years to come.
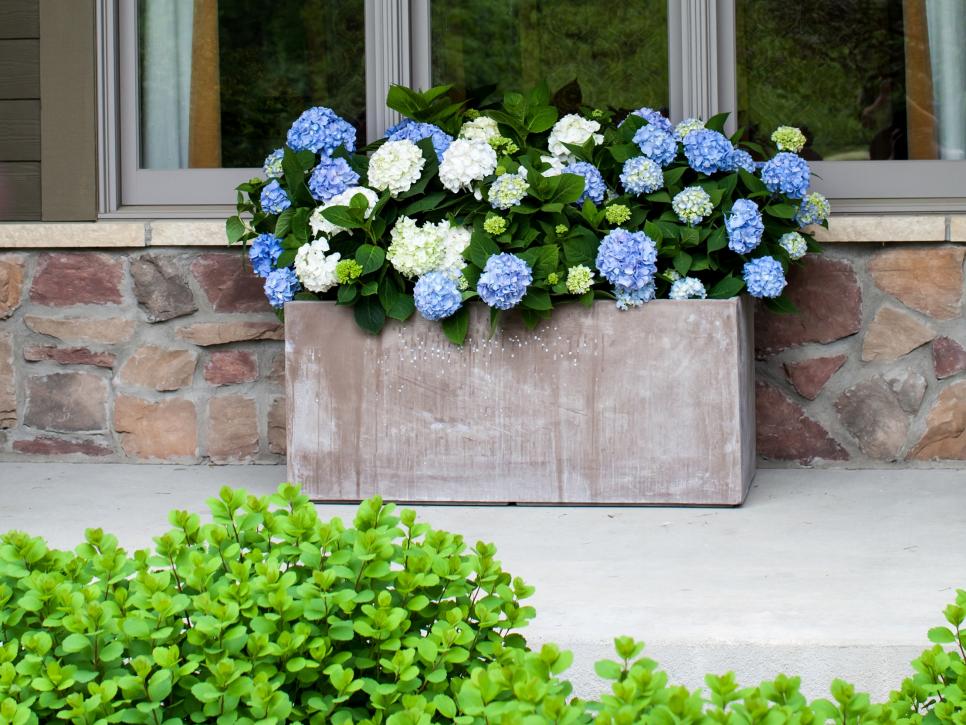
Image of repotting hydrangeas in pots
- Image 1: A hydrangea plant in a small pot is being removed from the pot. The roots are wrapped in a ball of soil.
- Image 2: A new pot that is slightly larger than the old pot is filled with potting mix.
- Image 3: The hydrangea plant is being placed in the new pot. The roots are spread out in the potting mix.
- Image 4: The hydrangea plant is being watered. The potting mix is being evenly moistened.
- Image 5: The hydrangea plant is in its new pot and is looking healthy. The leaves are green and the flowers are blooming.
Post a Comment for "How To Repot Hydrangeas In Pots Like A Pro"